Note: Regardless of communication interface type used (USB or Network) see the last step at the end to enable bidirectional communication once the print driver is installed. This only needs to be done once.
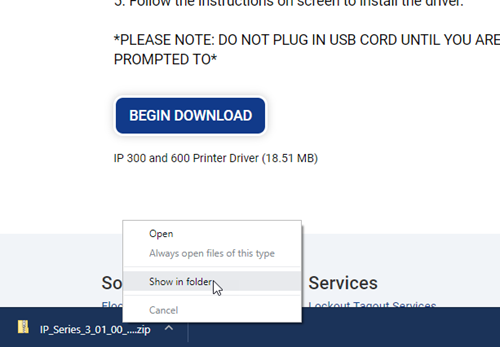
1. Download the driver from BradyID
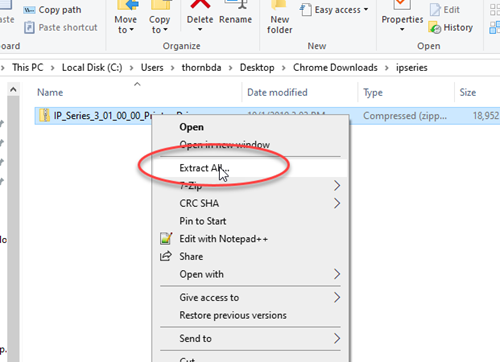
2. Right click and choose «Extract All»
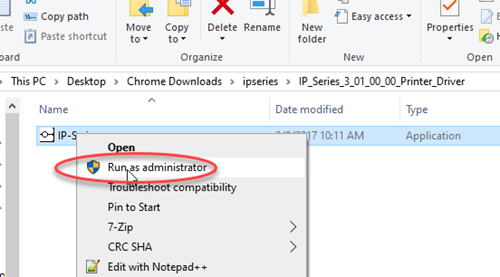
3. Run click the executable and choose «Run as administrator».
Note: If your driver install does not launch, make sure you have sufficient rights:
Microsoft UAC – Why Do I Need to Run Brady Driver and Software Installs As «Admin»?. If the driver install still does not launch, reach out to your IT admin or attempt to manually install using the driver INF file: How to access the inf file to manually install Brady printer drivers
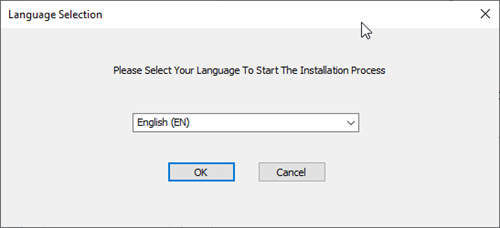
4. Choose your language and click Next
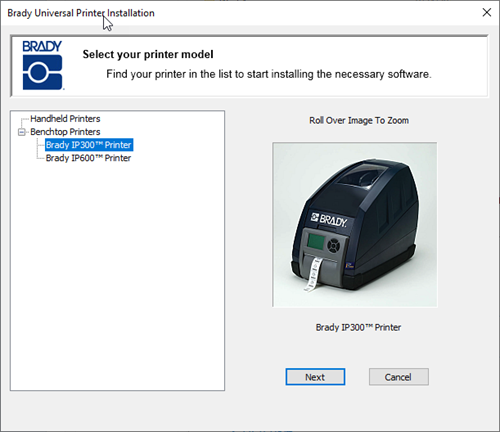
5. Choose your DPI model
6. Connect the printer to your PC
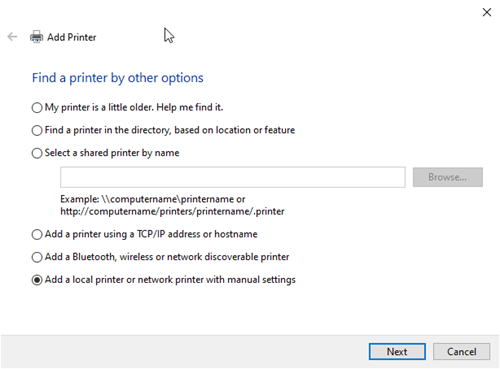
7. If connecting via USB, choose «Add a Local printer or network printer with manual settings». If you are networking your IP Series printer, complete the driver installation using this article: How to Network Your IP300 and IP600 Printer or skip to the below Networking section.
8. Choose the virtual USB port
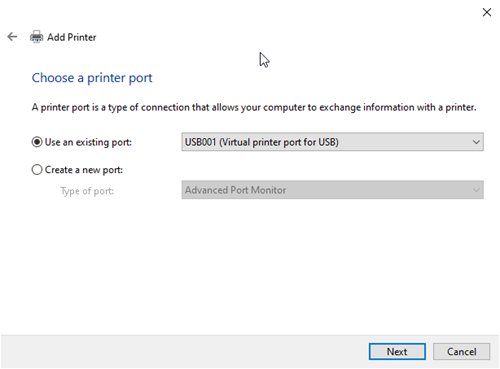
Note: If you do not see this option, choose an LPT port, you can change the port later: Unable to detect usb printer during driver installation
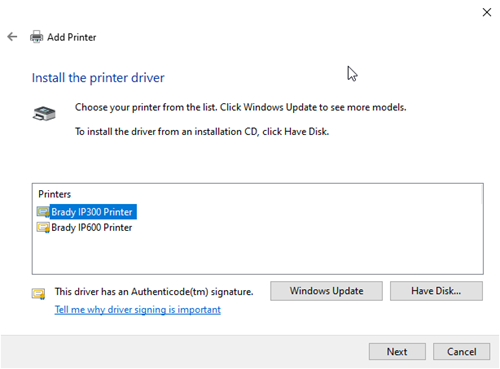
9. Select the appropriate printer model
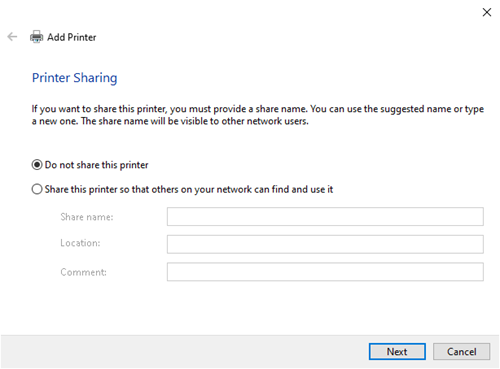
10. Select sharing preferences
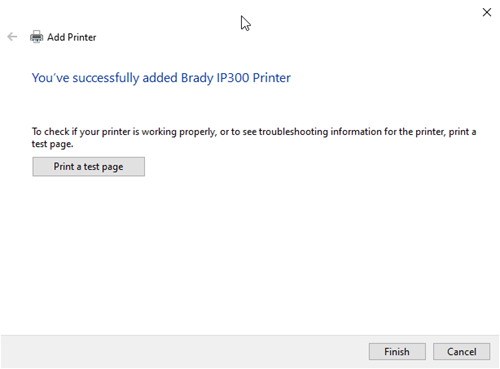
11. Click Finish